
How to Remove Thousands of Spam-Generated WordPress Posts After a Website Hack Using Bulk Delete

Use the Bulk Delete plugin to wipe spam posts by status, date, category, author, or post type after you clean the hack and make a backup. Do not start by clicking “Trash” one page at a time. That is how a five-minute job becomes a sad afternoon. WordPress runs a huge share of the web, so hacked sites with junk posts are very common [source: W3Techs].
TLDR: First, remove the malware and change passwords. Then install Bulk Delete and delete the spam posts in batches. For example, if a hack created 7,200 fake posts in a “News” category over 4 days, you can target that category and date range instead of deleting by hand. Always backup first, because bulk deletion is not a cute little undo button.
Step 1: Stop the Hack First
Do not delete the spam posts while the hacker is still inside.
That is like mopping the floor while the sink is still flooding. Very brave. Very pointless.
Do these first:
- Update WordPress core.
- Update all plugins and themes.
- Remove weird admin users.
- Change all passwords.
- Scan the site with a security plugin or host tool.
- Check your FTP, hosting panel, and database users.
If the spam came from comments, forms, or bots, also tighten those doors. For extra help, read this guide on AI tools to detect and remove spam comments in WordPress. If forms were abused, this guide on honeypots, tokens, and rate limits is worth a look.
Step 2: Make a Backup
Yes, even if the site is a mess.
Make a full backup of:
- Your database.
- Your uploads folder.
- Your theme files.
- Your plugin files.
Why backup junk? Because you may delete the wrong thing. Maybe the hacker used real categories. Maybe spam posts sit beside real posts. Maybe you are tired and click the wrong checkbox. It happens.
Honestly, it feels like WordPress should ask, “Are you sure you are sure?” about six times during jobs like this.
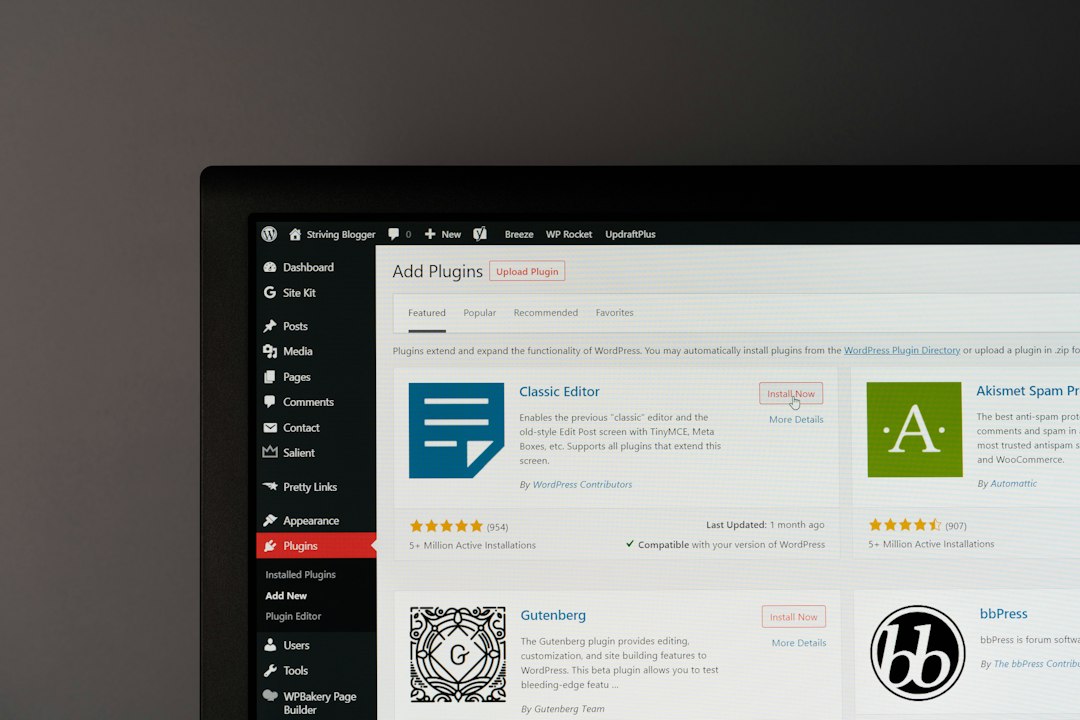
Step 3: Install Bulk Delete
Go to your WordPress admin area.
- Click Plugins.
- Click Add New.
- Search for Bulk Delete.
- Install and activate it.
The plugin is made by BulkWP. It is built for mass cleanup jobs. Perfect for those awful moments when your site suddenly has 3,000 “cheap shoes” posts in a language you do not speak.
Step 4: Find the Spam Pattern
Before deleting anything, find what makes the spam easy to spot.
Look for clues like:
- Post status: draft, pending, published, or trash.
- Post date: all created after the hack date.
- Author: one strange user made them all.
- Category: fake posts share one category.
- Post type: posts, pages, or custom post types.
- Title pattern: strange words or repeated phrases.

Expect to waste time on spotting the pattern. That part is annoying. But it saves your real content.
Step 5: Delete in Smart Batches
Open Bulk WP or Bulk Delete from your admin menu.
Choose the section that fits your mess. Most hacked sites need Bulk Delete Posts.
You can delete posts by:
- Category.
- Tag.
- Custom taxonomy.
- Post status.
- Author.
- Date range.
Start small. Delete 100 or 500 posts first. Check the site. Then continue.
This is safer than removing 12,000 posts in one giant swing. Big batch jobs can time out. Your browser may freeze. Your host may get grumpy. Nobody needs that extra drama.
Step 6: Empty the Trash
Some deleted posts may move to Trash first.
That means they still sit in the database. They are just wearing a little “deleted” hat.
Go to Posts, click Trash, and empty it. You can also use Bulk Delete to remove trashed posts if needed.
After that, check your post count again.
Step 7: Clean SEO Damage
Spam posts can get indexed by Google. That stinks.
After deletion, check for bad URLs in Google Search Console. Mark them as gone if needed. Also rebuild your sitemap with your SEO plugin.
Look for weird search results like:
- Fake medicine pages.
- Casino pages.
- Loan pages.
- Adult spam.
- Random foreign text.
If spam URLs still show, do not panic. Search results can take time to refresh.
Step 8: Block the Next Wave
Once the cleanup is done, harden the site.
- Use strong passwords.
- Turn on two-factor login.
- Limit login attempts.
- Remove unused plugins.
- Keep backups automatic.
- Add spam protection to forms and comments.
Spam tricks are not only a WordPress problem. The same ugly patterns show up in phones and apps too. This guide on blocking spam text messages explains how filters help cut junk before it reaches you.

Quick Checklist
- Clean the hack first.
- Backup everything.
- Install Bulk Delete.
- Find the spam pattern.
- Delete in batches.
- Empty Trash.
- Check SEO damage.
- Lock the site down.
Bulk Delete is the broom. Security cleanup is the lock on the door. Use both. Your WordPress site will feel normal again, and you can stop staring at 8,000 fake posts about discount sunglasses.
