
Wii U Emulators Compared: 4 Tools and Setups for Exploring Compatibility, Graphics Settings, and Controller Support
Pick Cemu first if you want the best Wii U emulator experience. It has the strongest game compatibility, the most useful graphics options, and the least controller pain. That matters because the Wii U sold only 13.56 million units worldwide, so emulation is one way fans study and preserve a smaller Nintendo library [source: Nintendo].
TLDR: Use Cemu on Windows or Linux for the smoothest ride. Try Cemu on Steam Deck with EmuDeck if you want couch play with less setup work. Test Decaf only if you like experiments, since many games still need patience. For example, a mid-range gaming PC can often run lighter Wii U games at 1080p or 1440p, while shader stutter may still cost you a few annoying seconds when a new effect loads.
1. Cemu: The main pick for most people
Cemu is the big name here. It runs many Wii U games well. It also gives you lots of settings without making your brain melt.
The best part is the graphics pack system. You can raise resolution. You can tweak shadows. You can change anti-aliasing. You can even fix some game quirks with community packs.
Honestly, it feels like Cemu is the only Wii U emulator that wants you to have a normal evening. You still need setup time. But it is not wild.
- Best for: Most players and testers.
- Compatibility: Strong, especially for popular games.
- Graphics: Very good. Great resolution options.
- Controllers: Supports Xbox, PlayStation, Switch pads, keyboard, and more.
- Annoyance: Shader setup can cause stutter at first.

2. Decaf: Fun for testing, rough for playing
Decaf is an open-source Wii U emulator. It is interesting. It is also not the easy path.
Think of it like a garage project with cool parts on the table. You can learn from it. You can test things. But you should not expect every game to behave.
Graphics support is more limited than Cemu. Controller setup may also feel less friendly. If you enjoy bug hunting, you may like it. If you just want to play after dinner, it may test your mood.
- Best for: Developers, hobby testers, and curious users.
- Compatibility: Mixed.
- Graphics: Basic compared to Cemu.
- Controllers: Usable, but not as polished.
- Annoyance: Expect more crashes and odd behavior.
3. Cemu with EmuDeck on Steam Deck
This is not a separate emulator. It is a setup. And it is a handy one.
EmuDeck helps install and configure emulators on Steam Deck. It can set up Cemu, folders, controller profiles, and Steam library entries. That saves time. It also saves your thumbs from typing folder paths on a tiny keyboard.
The big win is controller support. Steam Input is powerful. You can map the Wii U GamePad screen to a button, trackpad, or hotkey. It is not perfect. Some games really want the second screen. But many are still very playable.
- Best for: Handheld Wii U testing.
- Compatibility: Same core Cemu strengths.
- Graphics: Good, but the Steam Deck has limits.
- Controllers: Great once mapped.
- Annoyance: Some games need custom layouts.
If you love tinkering, this setup is fun. If not, use community controller layouts first. Your patience will thank you.
Image not found in postmeta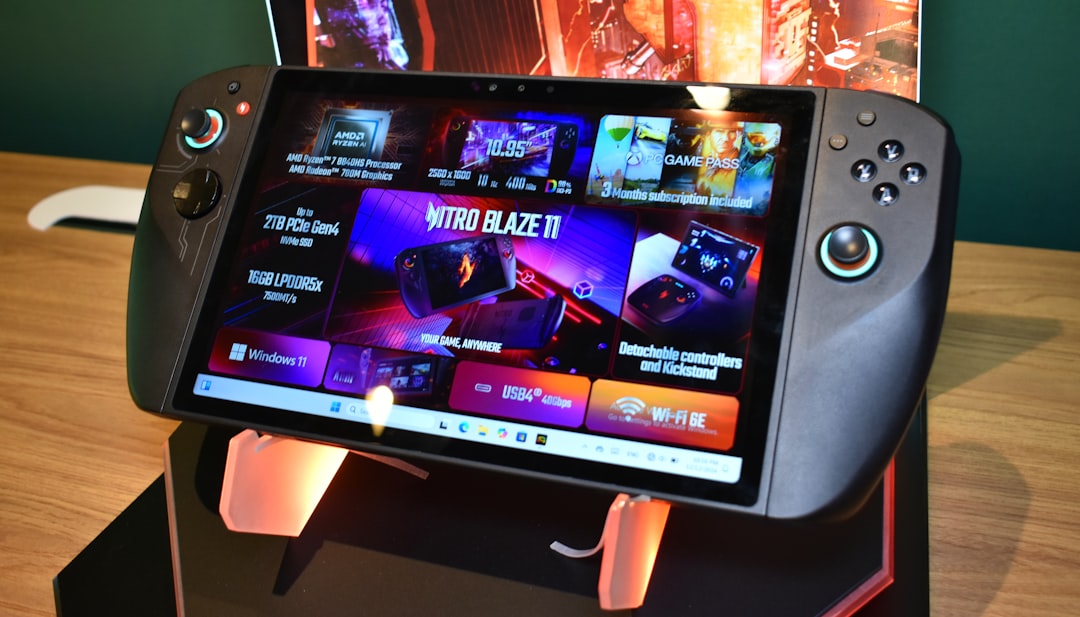
4. Cemu with a front end like LaunchBox or RetroBat
This setup is for people who want a clean game library. It makes your Wii U games look like part of a neat arcade wall.
LaunchBox is popular on Windows. RetroBat is another option for Windows users who like an EmulationStation-style layout. These tools do not replace Cemu. They launch it, organize games, show cover art, and make the whole thing feel nicer.
The catch is setup. It can take 20 to 40 minutes to make artwork, paths, controller shortcuts, and emulator commands feel right. It drives me crazy when one wrong folder makes a game vanish from the list.
- Best for: Big libraries and TV setups.
- Compatibility: Depends on Cemu.
- Graphics: Set inside Cemu first.
- Controllers: Good, if your front end and Cemu agree.
- Annoyance: More moving parts means more tiny mistakes.
Quick comparison
- Easiest winner: Cemu on Windows.
- Best handheld setup: Cemu through EmuDeck on Steam Deck.
- Best library look: Cemu with LaunchBox or RetroBat.
- Best for experiments: Decaf.
Graphics settings that matter
Start simple. Set the resolution to 1080p. Test the game. Then try 1440p or 4K if your PC can handle it.
Use Vulkan if it runs better on your system. Try OpenGL if Vulkan acts strange. Turn on async shader compile if available. It can reduce stutter in many cases.
Do not max everything at once. That is how you create mystery lag. Change one setting. Test again. Boring, yes. But it works.
Image not found in postmeta
Controller support tips
Wii U controls can be weird because of the GamePad screen. Some games barely use it. Others depend on it.
- Use an Xbox controller for the easiest setup.
- Use a PlayStation controller if you like gyro options.
- Use a Switch Pro Controller if you want a Nintendo feel.
- Map a hotkey to show or switch the GamePad screen.
For motion controls, you may need extra setup. Cemu supports several input paths, but not every pad behaves the same. Test early. Do not wait until a shrine, puzzle, or aiming section ruins your night.
Final pick
Cemu is the clear first choice. Use it alone for a clean PC setup. Use it with EmuDeck for Steam Deck play. Add LaunchBox or RetroBat if you want a pretty library. Keep Decaf for learning, testing, and curiosity.
Also, use your own legally dumped games and files. That keeps the focus where it belongs: compatibility, graphics, and controller support. The fun stuff.
