
How to Remove Wallpaper: DIY Wallpaper Removal Tools vs Professional Services
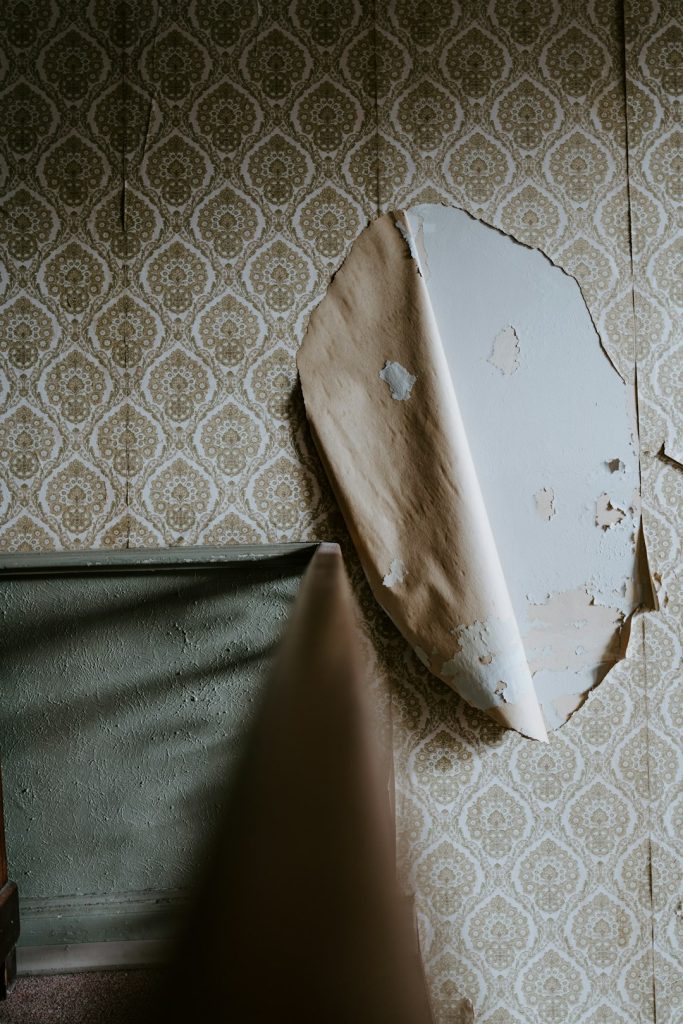
If the wallpaper is newer, single-layered, and sitting on painted drywall, DIY removal is usually worth trying first. If it is old, painted over, layered, or glued to unprimed drywall, hiring a pro can save your walls and your weekend. Professional wallpaper removal often runs about $1 to $4 per square foot, depending on wall condition, room size, and wallpaper type [source: HomeAdvisor].
TLDR: Try DIY wallpaper removal when the paper peels easily, the room is small, and you have basic tools like a scraper, scoring tool, sponge, and steamer. Hire a professional if the wallpaper is painted over, stuck to damaged drywall, or covers several rooms. For example, a homeowner removing wallpaper from a 120-square-foot powder room might spend under $80 on tools and supplies, while a pro could charge several hundred dollars but finish faster with less wall repair. If more than 20% of the wall surface tears during testing, stop and call for help.
Start With a Small Test Patch
Before buying tools or booking a contractor, test one hidden corner. Pick a spot behind a door or near a baseboard. Lift the edge with a putty knife and pull slowly. If the top layer comes off in wide sheets, you are in good shape. If it breaks into tiny flakes or pulls drywall paper with it, the job is going to be painful.
The catch is that wallpaper can lie. The first strip may peel beautifully, then the next wall fights you for three hours. Bathrooms and kitchens are the worst offenders because steam, grease, and old adhesive can turn removal into a sticky mess.
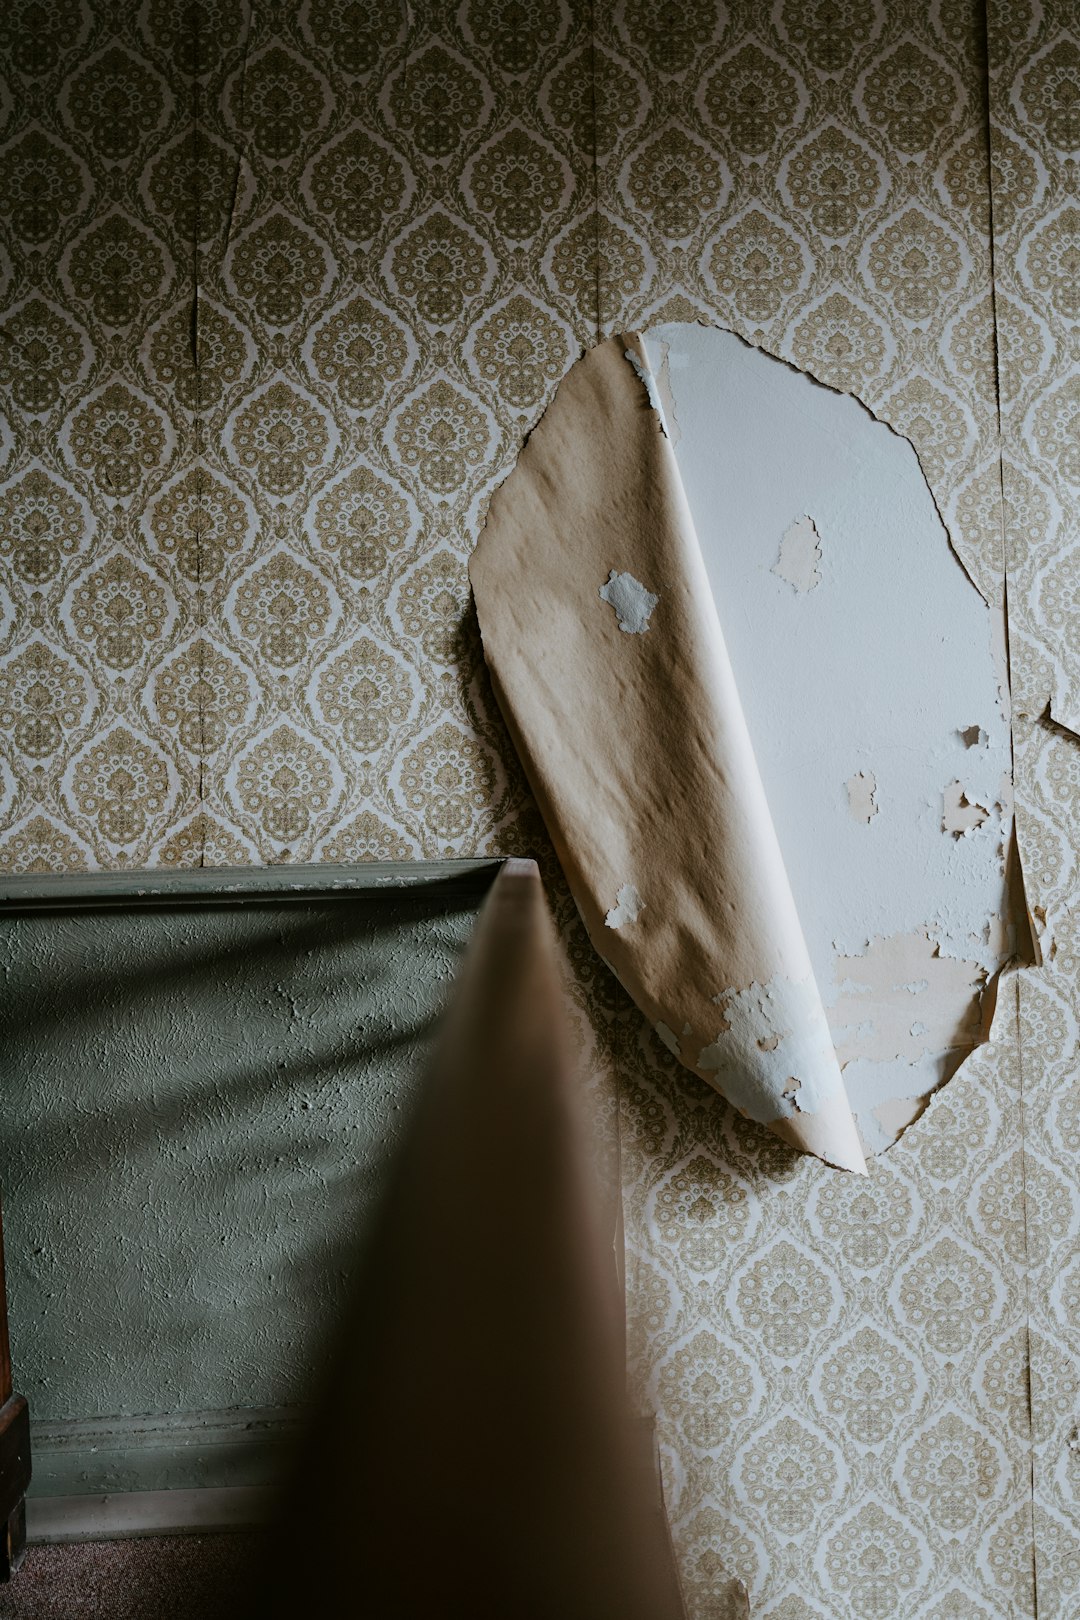
DIY Wallpaper Removal Tools: What You Actually Need
You do not need a garage full of gadgets. You need the right basic tools and patience. Cheap tools can work, but flimsy scrapers bend, dull blades gouge drywall, and tiny spray bottles make the job feel endless.
- Drop cloths: Protect floors from water, glue, and soggy paper scraps.
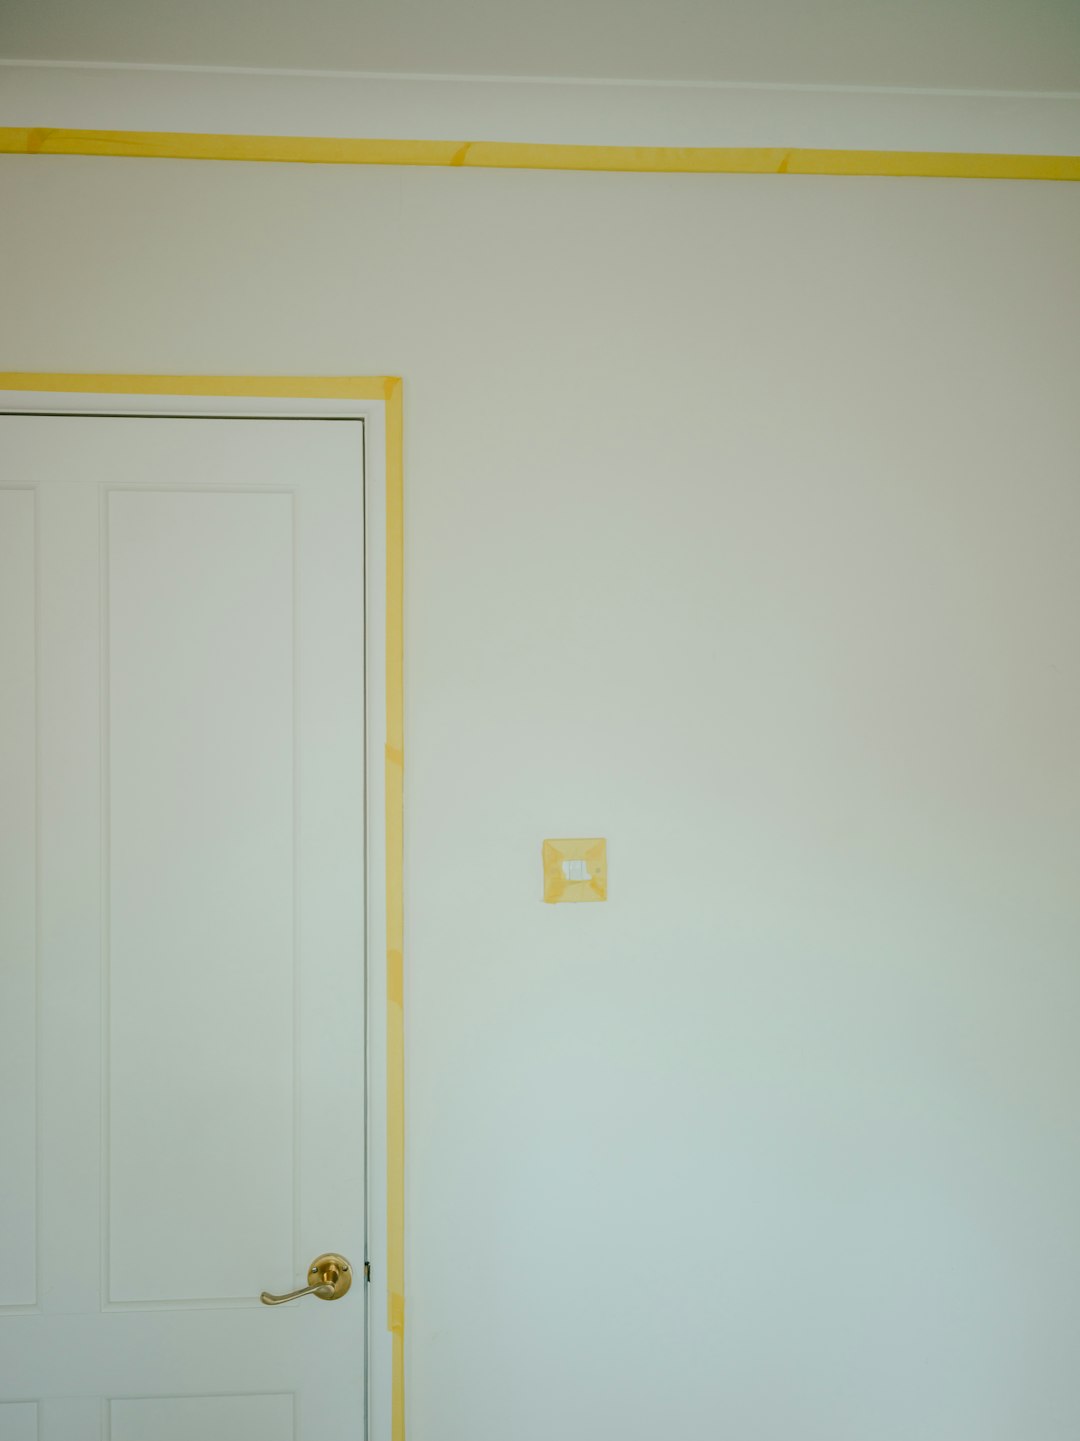
- Painter’s tape: Seal outlets and trim edges.
- Putty knife or wallpaper scraper: Use a flexible blade for peeling and a wider blade for cleanup.
- Scoring tool: Perforates the wallpaper so solution can reach the glue.
- Spray bottle or garden sprayer: Applies warm water or remover solution evenly.
- Wallpaper remover solution: Helps soften stubborn adhesive.
- Steam stripper: Useful for thick vinyl, older adhesive, or several layers.
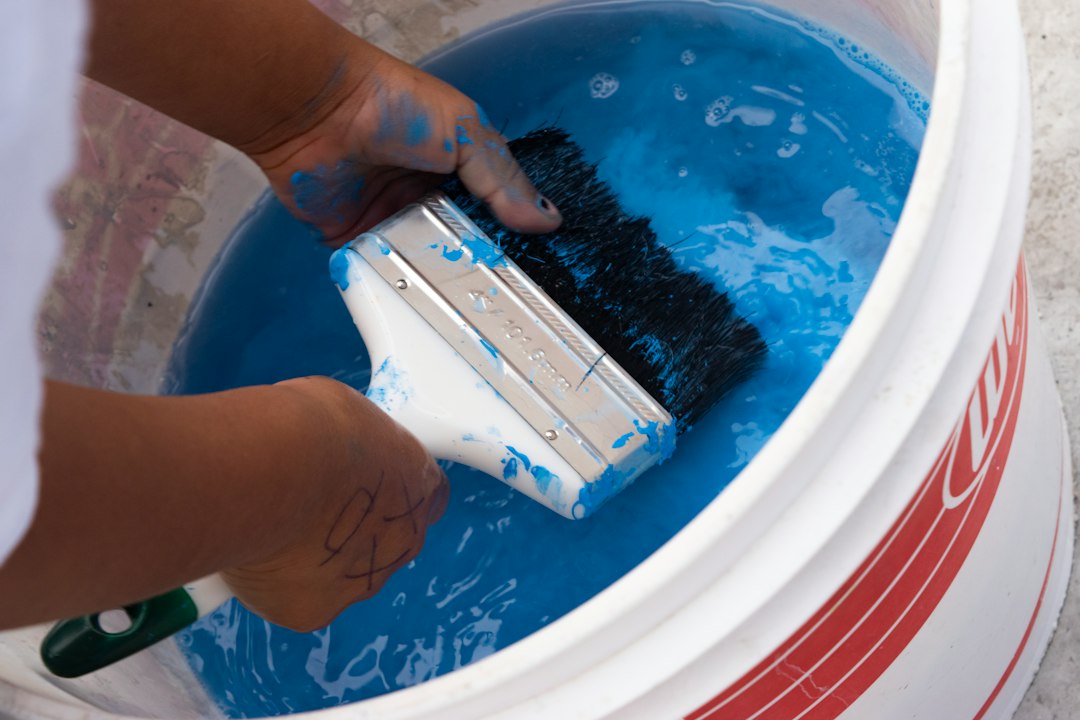
- Sponges and buckets: Needed for washing glue off the wall.
- Sandpaper and joint compound: For small repairs after removal.
Expect to waste time on glue residue. It often takes longer to clean adhesive than to pull off the visible paper. That part drives people crazy because the wall may look bare, yet still feel tacky under your hand.
How DIY Removal Usually Works
Most DIY wallpaper removal follows the same pattern. First, prepare the room. Move furniture away from the wall. Turn off power to nearby outlets. Cover floors. Remove outlet covers and switch plates.
Next, peel the top layer if possible. Some modern wallpapers are strippable, which means the decorative face comes off first. The backing stays behind and needs water or solution. If the wallpaper is vinyl, score it lightly before spraying. Do not press too hard. Deep scratches can damage drywall.
Spray warm water or remover solution over a small area. Let it sit for 10 to 15 minutes. Then scrape gently. Work from top to bottom. Repeat as needed. Once the paper is gone, wash the wall with clean water and a sponge until the surface no longer feels sticky.
When DIY Makes Sense
DIY is a smart choice when the room is small and the wallpaper is not bonded like concrete. A powder room, nursery, closet, or accent wall is a manageable weekend project. It is also a good option if the walls will be textured or covered again, since minor flaws may be easier to hide.
DIY also gives you control. You can work slowly and avoid strangers in the house. You can stop after one wall if your arms give out. You can test different solutions without paying hourly labor.
DIY works best when:
- The wallpaper peels in sheets.
- There is only one layer.
- The wall was painted or primed before the wallpaper went up.
- You have time over a weekend.
- You do not mind mess, moisture, and repetitive scraping.
When Professional Wallpaper Removal Is Better
Professionals are not just faster because they have better tools. They have seen all the ugly surprises: old paste, torn drywall paper, wallpaper over plaster, hidden mold, painted-over seams, and three layers from three different decades.
A pro can also tell when to stop soaking. Too much water can damage drywall, loosen joint compound, and create bubbles under the surface paper. That mistake is common with first-time DIY jobs. The wall looks fine while wet, then dries into a rough, fuzzy surface that needs skim coating.
Call a professional if:
- The wallpaper has been painted over.
- You see drywall paper tearing during your test patch.
- The room has high ceilings or stair walls.
- There are multiple layers of wallpaper.
- You need the wall paint-ready right away.
- The home is older and may have fragile plaster.
Professionals may also include wall washing, sanding, patching, and primer in their service. Ask about that before hiring. Wallpaper removal is only half the job. A wall full of glue streaks and gouges is not ready for paint.
DIY Cost vs Professional Cost
DIY wallpaper removal is cheaper upfront. A basic tool kit may cost $30 to $80. Add a steamer rental, and you may spend another $30 to $60 per day. If you already own buckets, sponges, and drop cloths, the cost drops.
Professional service costs more, yet it can be cheaper than fixing a damaged wall. If you tear drywall paper across a large area, you may need sealing primer, joint compound, sanding, and paint prep. That can erase the savings fast.
Think about time, too. A small room may take a homeowner six to ten hours. A pro crew may finish the same job in a few hours. For a whole house, DIY can stretch across several weekends. Honestly, it feels like wallpaper removal has a special talent for ruining Sundays.
Which Option Gives the Best Finish?
If the wallpaper comes off cleanly, DIY can produce a great finish. The key is removing every bit of adhesive. Paint does not bond well to leftover glue. It can crack, bubble, or show shiny patches.
Professional removal often wins when the final finish matters. If you want smooth painted walls in a dining room, entryway, or primary bedroom, wall prep is everything. Pros know when to skim coat, when to seal torn drywall, and when sanding is making things worse.
Quick Decision Guide
- Choose DIY for one small room, easy-peel paper, and a flexible schedule.
- Choose a pro for painted wallpaper, large areas, damaged drywall, or tight deadlines.
- Try a test patch first before buying equipment or accepting a quote.
- Budget for repairs either way, because even careful removal can expose wall flaws.
The best choice is the one that protects the wall, not just the one that removes the paper. If your test patch peels cleanly, grab a scraper and go slowly. If the wall starts shredding, step away from the sponge. Paying a professional may feel expensive, but replacing a weekend with dust, glue, and drywall repair can cost more than money.
