
Easy White Balance Correction Premiere: A Beginner-Friendly Guide to Easy White Balance Correction in Premiere and Better Color Accuracy
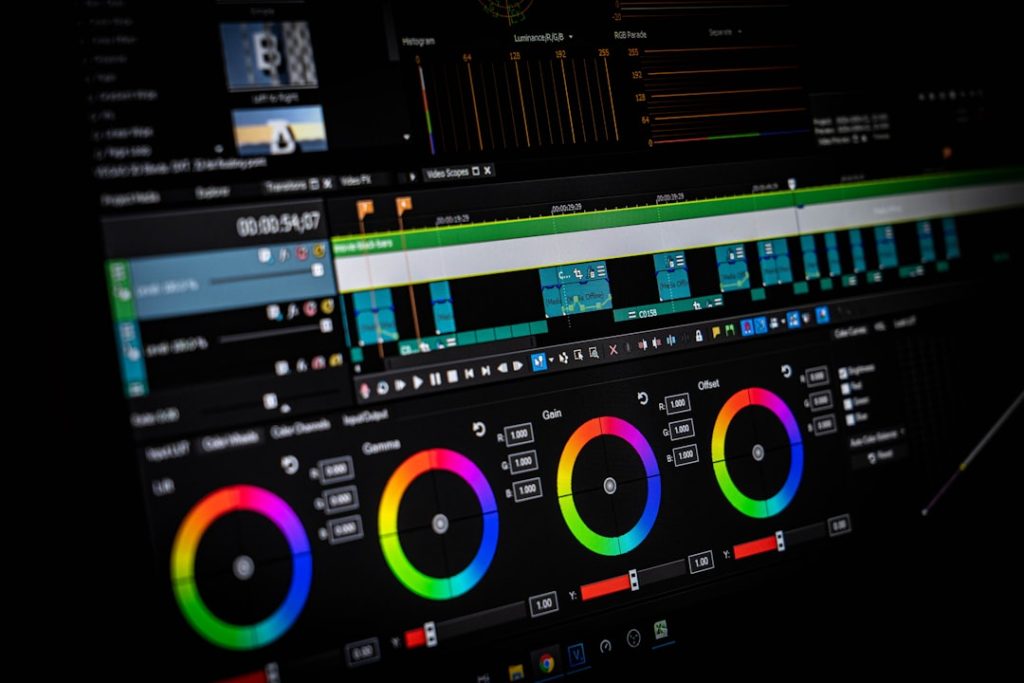
Fix white balance in Premiere by using Lumetri Color, clicking the WB eyedropper on something neutral, then fine tuning Temperature and Tint. That is the fastest beginner method. It works well for most clips with weird orange, blue, green, or pink color casts.
TLDR: Open Color, select your clip, go to Lumetri Color, and use the White Balance eyedropper on a white, gray, or black object. If a kitchen shot looks too orange, click a white plate, then lower Temperature a little if needed. In a simple 20 clip vlog, this can save 30 to 45 minutes compared with guessing every shot by eye. For best results, use scopes and match skin tones after the quick fix.
Why White Balance Matters
White balance tells Premiere what “neutral” should look like. Neutral means white looks white. Gray looks gray. Black looks black.
When white balance is wrong, your video feels off right away. A face may look too red. A room may look yellow. Outdoor shade may look cold and blue.
It drives me crazy that one camera can make a white wall look cream, while another makes it look icy blue. Same room. Same light. Totally different mood.
Good white balance gives you better color accuracy. It also makes your footage easier to grade later. You are not fighting bad color from the start.
The Easy White Balance Correction Premiere Method
This is the beginner-friendly way. No fancy grading tricks. No ten-step color ritual. Just a clean fix.
- Open your project in Adobe Premiere Pro.
- Select the clip you want to fix on the timeline.
- Go to the Color workspace at the top.
- Find the Lumetri Color panel.
- Open Basic Correction.
- Click the WB Selector eyedropper.
- Click an object that should be neutral.
Good targets include:
- A white shirt.
- A gray wall.
- A black camera bag.
- A white paper sheet.
- A gray card, if you planned ahead like a hero.
Avoid clicking bright reflections. Avoid colored objects. Do not click skin. Skin is not neutral, even if it looks pale.
What If the Eyedropper Makes It Worse?
Yes, this happens. Premiere is helpful. Then suddenly it is not. The catch is, the eyedropper only works if you click a truly neutral area.
If the result looks strange, press Ctrl Z or Command Z. Try again on another spot. Pick something less shiny. Pick something with texture. Very bright white areas can be clipped, which means the color data is damaged.
If every click looks bad, fix it by hand.
- Temperature controls blue and orange.
- Tint controls green and magenta.
If your clip is too blue, move Temperature to the right. If it is too orange, move it left. If it looks green, push Tint toward magenta. If it looks pink, push Tint toward green.
Use tiny moves. A change of 5 to 10 points can be enough. Huge moves can make footage look fake.
A Simple Example
Say you filmed a birthday party indoors. The room had warm bulbs. Your camera guessed wrong. Now everyone looks like a cheese puff.
Select the clip. Open Lumetri Color. Click the WB eyedropper. Click a white napkin on the table. Premiere pulls out some orange. Nice.
But the faces still look a bit too warm. Lower Temperature by 3 or 4 points. Then check Tint. If the shadows look green, add a little magenta.
That is it. The cake is still sweet. The people no longer look baked.
Use Scopes When Your Eyes Get Tired
Your eyes lie. Your monitor lies. Room lighting lies too. Scopes help you see the color more clearly.
In Premiere, open Lumetri Scopes. Start with the RGB Parade. This shows red, green, and blue levels side by side.
For a neutral white or gray object, the red, green, and blue values should be close. They do not need to match perfectly. But if blue is way higher, the shot is too cool. If red is way higher, the shot is too warm.
You can also use the Vectorscope for skin. Skin tones usually sit near the skin tone line. Do not panic if they are not exact. Lighting, makeup, and camera profiles all change things.
How to Match White Balance Between Clips
This is where many beginner edits start to look messy. One clip is blue. The next is yellow. Then the next is green. Viewers may not know why it feels wrong. They just feel it.
Fix your main shot first. Pick the shot with the best lighting. Make it look clean. Then match the other clips to it.
Try this:
- Correct the best clip first.
- Move to the next clip.
- Use the eyedropper or manual sliders.
- Compare back and forth.
- Watch skin, white walls, and shadows.
You can also copy the Lumetri effect. Select the fixed clip. Press Ctrl C or Command C. Select another clip. Use Paste Attributes. Then adjust the new clip if needed.
This works best when the clips were shot in the same place with the same light. If the light changed, expect to tweak each one.
Quick Fixes for Common Color Problems
Problem: The video looks too orange.
Move Temperature left. Try the eyedropper on a white object first.
Problem: The video looks too blue.
Move Temperature right. Shade and cloudy light often cause this.
Problem: The video looks green.
Move Tint toward magenta. This often happens under cheap office lights.
Problem: The video looks pink.
Move Tint toward green. Be gentle. Pink can turn sickly fast.
Problem: Skin looks weird after correction.
White balance may be right, but exposure or saturation may be wrong. Lower saturation a bit. Adjust highlights and shadows.
Beginner Mistakes to Avoid
- Do not use white balance as a style filter. Fix color first. Style it later.
- Do not trust Auto every time. Auto can help. It can also make faces look odd.
- Do not overcorrect. Real rooms often have some warmth. That is okay.
- Do not ignore mixed lighting. Window light plus orange bulbs can be annoying.
- Do not grade before balancing. Bad white balance makes every color choice harder.
Mixed lighting is the worst little gremlin. One side of a face may be blue from a window. The other side may be orange from a lamp. A global white balance fix cannot make both sides perfect. Pick what matters most. Usually, that means skin.
Pro Tip: Start With a Gray Card
If you shoot your own footage, use a gray card. Hold it in the light before recording the main action. Film it for two seconds. Later, use the eyedropper on it.
This small habit can save lots of edit time. It is not glamorous. It is not exciting. It just works.
If you do not have a gray card, use clean white paper. It is not as accurate, but it is better than guessing from a random wall.
Final Checklist for Better Color Accuracy
- Select the clip.
- Open Lumetri Color.
- Use the WB Selector.
- Click a neutral object.
- Fine tune Temperature and Tint.
- Check skin tones.
- Use scopes if unsure.
- Match nearby clips.
Easy white balance correction in Premiere is not magic. It is a simple habit. Fix the color cast first. Keep your changes small. Trust neutral objects more than your tired eyes. Your videos will look cleaner, calmer, and much more natural.
